To do this tutorial you will need some basic knowledge of Photoshop, but the instructions are pretty simple. Photos are included to hopefully make things easier!
Stitch on A Text Tutorial
STEP 1
Type out your text in the size and font of your choice
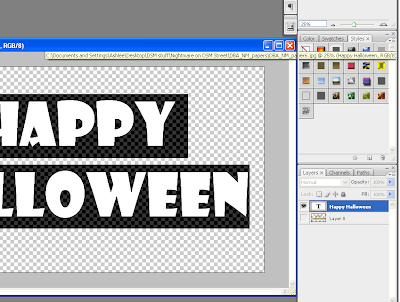
STEP 2
Right click your text layer and choose Creat Work Path
(your text will have a solid outline, i've added a background to show this)
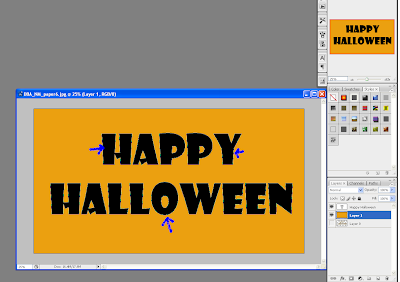
STEP 3
Create a new layer above your text, call it stitches
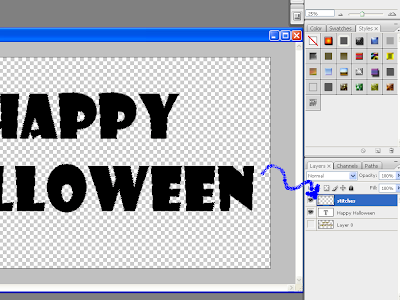
STEP 4
Now to create our stitch. Open a new document 100x100 and choose a font with either a letter X or V
(which ever you prefer for your stitch)
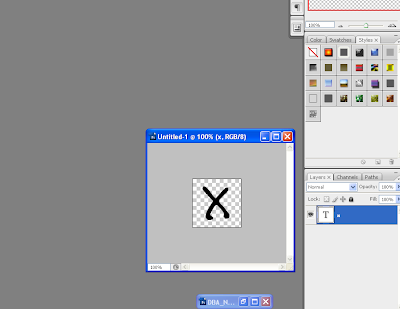
STEP 5
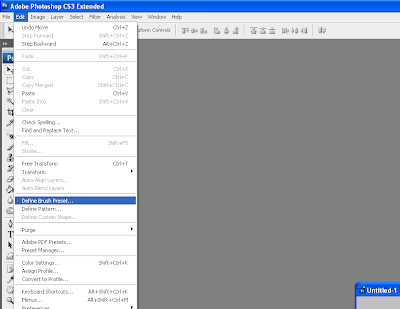
Go to Edit>Define Brush Preset and save your stitch
STEP 6
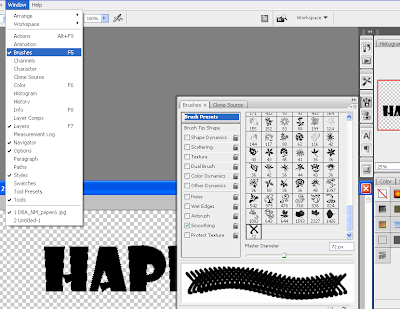
Back to your text, select your brush tool and choose Brushes from your window menu
STEP 7
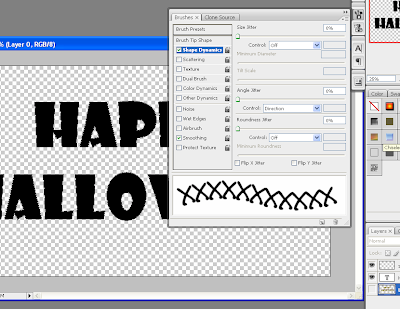
Adjust the size oof your brush to a size that works with your text and place your spacing around 90%
(play around with it) & set your shape dynamics to match Step 7 pic
STEP 8
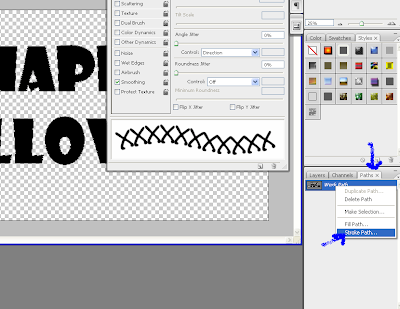
choose the color of your stitch, select the stitches layer and choose paths on your layer palette.
Right click your work path & stroke path with your bru
STEP 9
Click back on yourlayers palette, should look similar to the Step 9 image. (a background was added to show the effect)
If you don't like how the stitching looks, play around with the brush settings until you reach your desired effect.


Awesome tut Ashlee!!!
ReplyDeletethanks so much bev! i hope people use it and it works for their benefit :D
ReplyDelete